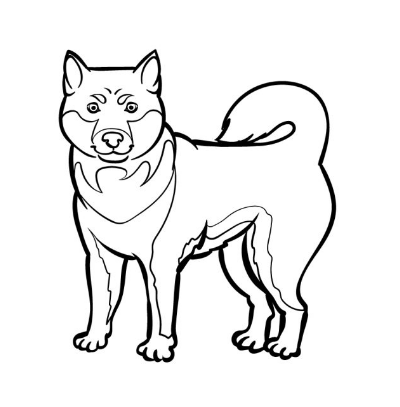
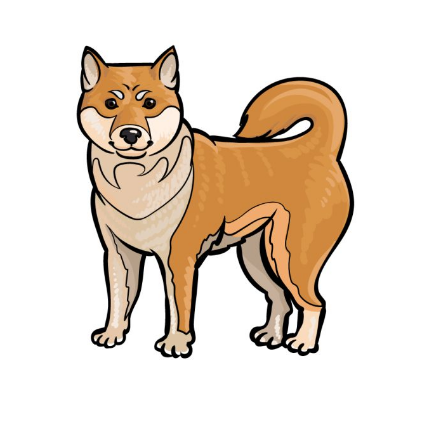
How to Draw A Shiba Inu. There are many different dog breeds worldwide, and even dog lovers often have a favorite breed.
Also, check our Cat Coloring Pages.
One breed of dog that has become very popular in recent years is the adorable Shiba Inu. Originally from Japan, these dogs are incredibly fluffy and furry, which helped make this breed an internet meme superstar.
Despite this fame, they’re just an adorable breed of dog, and learning how to draw a Shiba Inu is the next best thing to meeting one in person!
This tutorial is the right place if you want to know how to do it.
How to Draw A Shiba Inu
Step 1
To begin this guide on how to draw a Shiba Inu, let’s first start by outlining the dog’s head and chest.
Let’s start with the head first. The head’s sides are drawn with rounded lines, and you can add pointed ears at the top. There is a flat line between the ears, as shown in the reference image.
Next, we draw two curved lines coming down from the head and connected, forming the Shiba Inu’s neck and chest.
Once these outlines are drawn, we can add more to the next step of the guide!
Step 2
We’ll draw a paw on the dog’s body for the next phase of this Shiba Inu drawing.
Use slightly wavy lines going down from the body to create the sides of the paw, then add the paw at the base.
Next, we will add some facial details to the dog. Start by drawing some lines in the ears, then draw small circles for the eyes.
We’ll then draw some curved shapes above the eyes, and you can finally draw the nose and mouth underneath.
Step 3
Now we can continue with this guide on drawing a Shiba Inu, adding more legs and a little more body.
You can add another leg next to the first one you drew, which will look very similar to that first leg.
Then you can use a few more curved lines to draw the Shiba Inu’s stocky back.
In this step, we will also draw the dog’s tail, and as you can see in the reference image, we will curl it up on its back. Finish this step by drawing the back outline of the back leg.
Step 4
In this step of your Shiba Inu drawing, you will finish the outline for the body and legs before adding some final details in the next step.
First, draw the front of the back leg that you started with in the previous step of the tutorial.
You can complete this part by drawing a curved, jagged line for the Shiba Inu’s abdomen.
Once those are drawn, you’ll have the full outline ready for the drawing, and then we can move on to the final details we mentioned!
Step 5
Eventually, for the fifth step of this focus on drawing a Shiba Inu, we will add some points about the dog.

To do this, we draw curved and rounded lines over the face, legs, and body of the Shiba Inu.
These lines give the dog a more dynamic look and make it more realistic. This will be emphasized further when we add some colors later.
Once you’ve drawn these lines as they appear in our reference image, you’re ready for the final step of the guide.
Before we go any further, draw a background for the picture! This way, you can draw another dog with it, add toys, or put it in a creative setting for some ideas.
Step 6
Now we can complete this Shiba Inu drawing by adding some color! We selected some realistic colors for the Shiba Inu in our reference image.

This means we used light shades of brown and beige to color the different parts of the dog’s body.
You can use our reference image as a guide if you want similar realistic colors for your Shiba Inu, but feel free to use your unique colors too!
Knowing what colors you’ll use can also help you have fun choosing the tools and artistic mediums you’ll use to complete it. We can’t wait to see what you choose to colorize your creation!
Your Shiba Inu Drawing is Finished!
i’m Abbas founder of review-informations.com. I am a professional seo export and a blogger. i’m provide high quality content.